

Basement Project
Fun house project!
When we bought our house I knew that we wanted to use the big space in the basement as a theater and game area. It took a little while to really get a good vision for what I wanted. And then it took more time to find the time to do the project. Then there’s the self doubt, the wondering if it will actually turn out good, being concerned that I’m going to spend money on something that looks horrible and I could have spent that money on something better. Oh, let’s not forget about the shame of ‘everything I do always look like a 5 year old did it’ and I should really just hire someone to do it. All of those negative thoughts exist in me at the same time as I KNOW I enjoy creating. I like visualizing and watching that vision come to life. It only exists in my mind (non tangible way) and then I create it and it moves into the physical world. I like that! I have lots of doubts, and I have proof to show that those doubts are justified to an extent…but nevertheless I persist.
The last two weekends I’ve been working our basement and I think it turned out fantastic. Is it perfect? No. Is it better then it was? Absolutely. So…two weekends and about $300 later we have a great space!
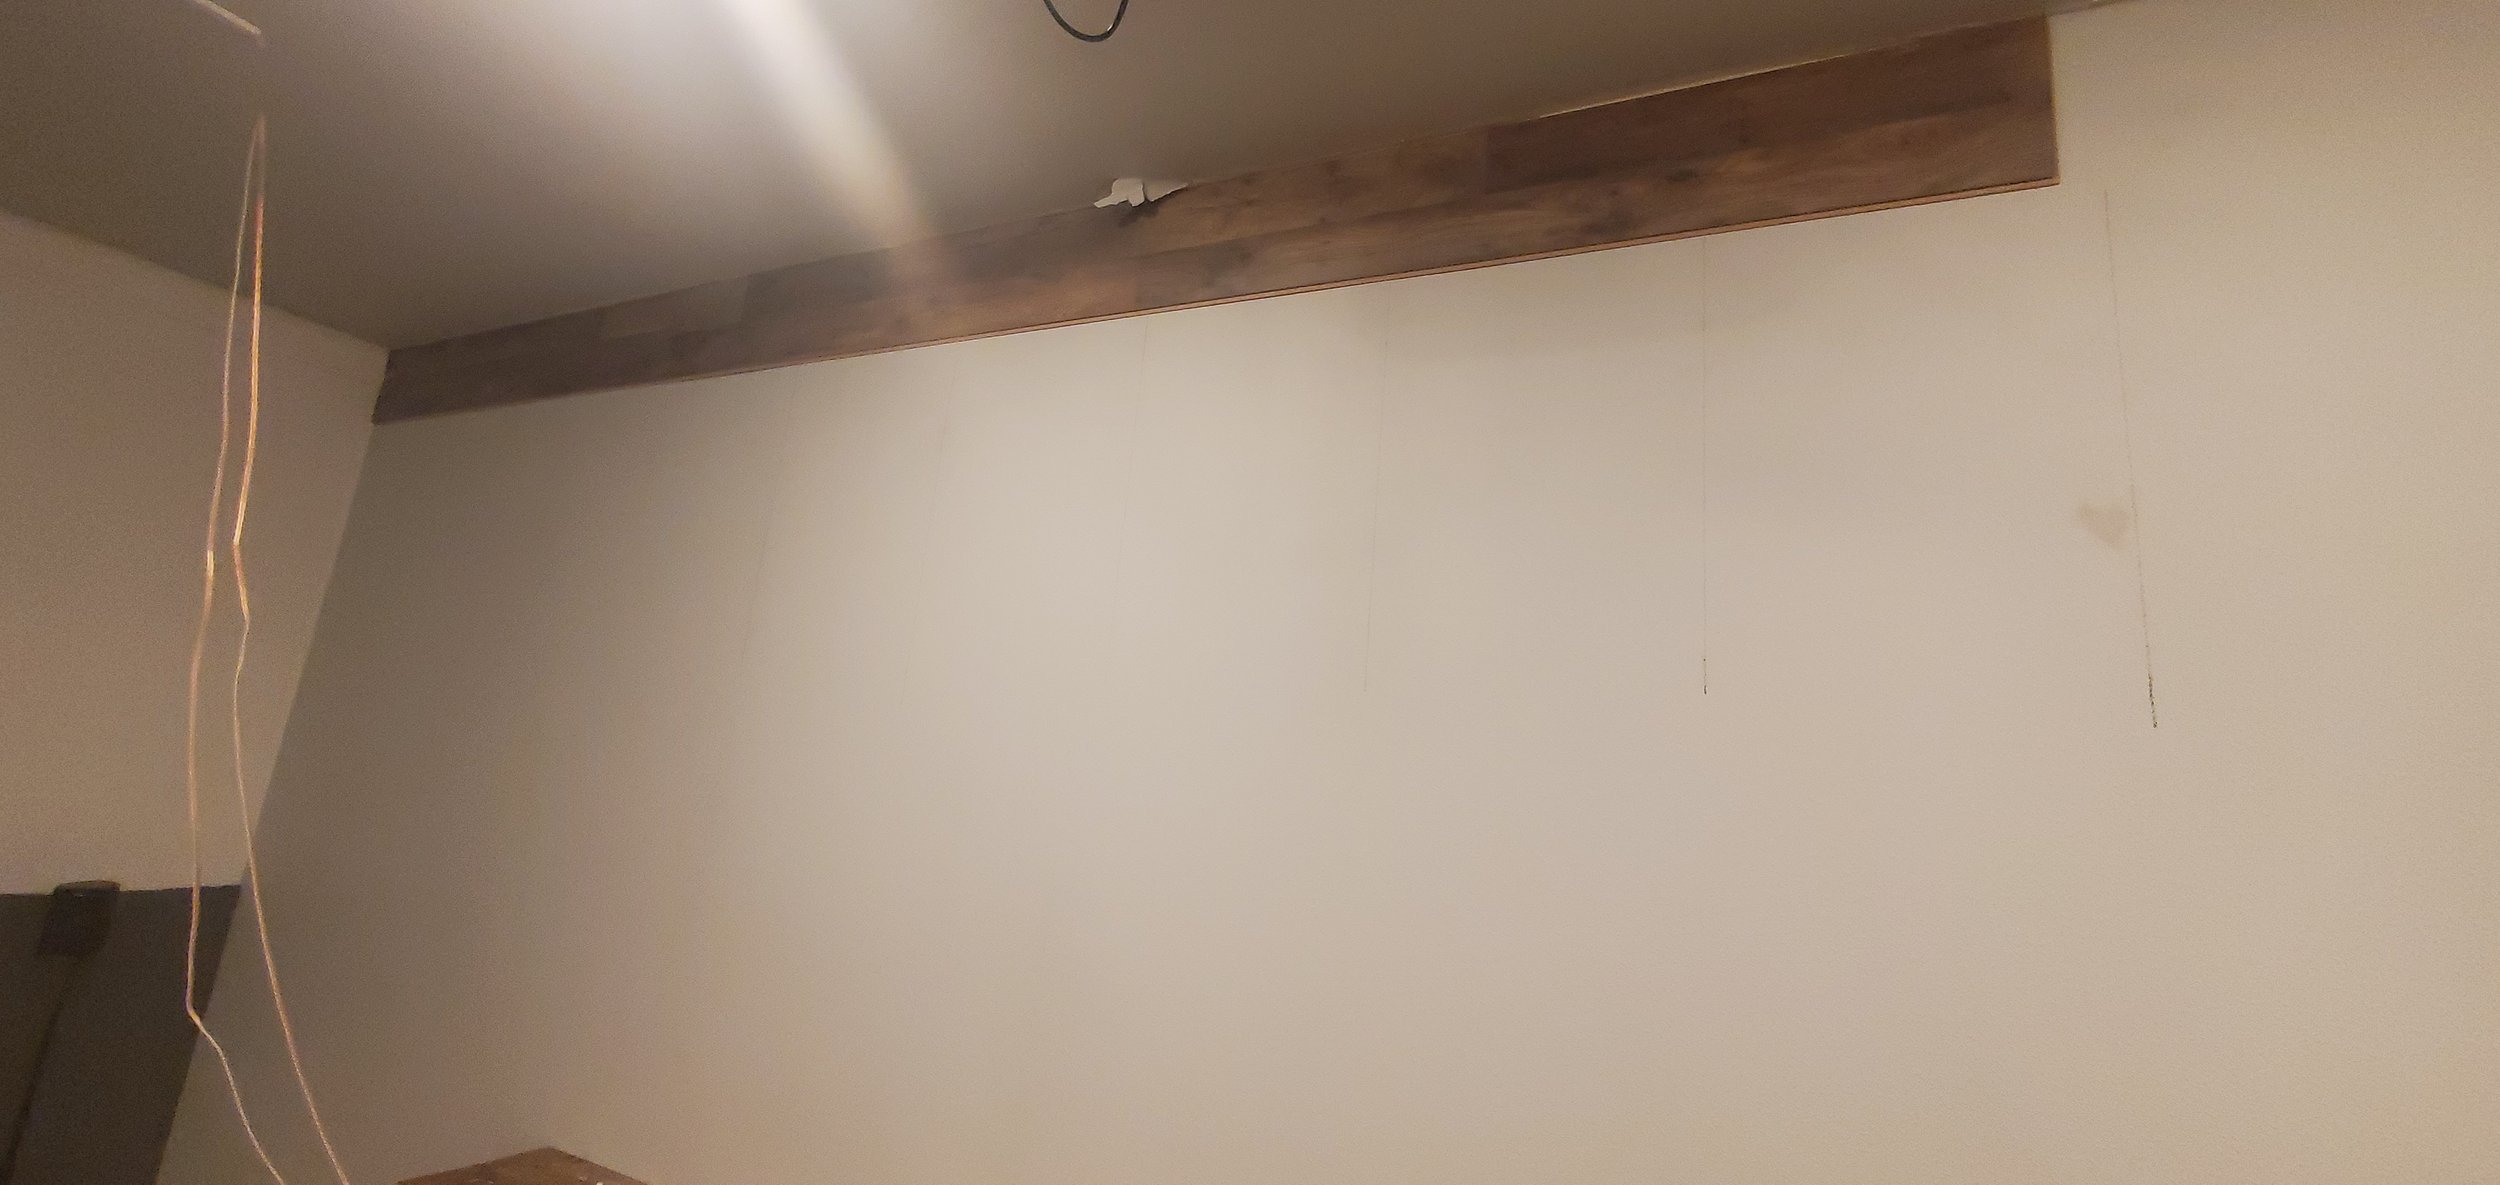
Below is the before Image. Please note the wires hanging down, both speaker wires and the wires to the projector..

Ok, now to progress pictures!
I started with painting the walls. I didn’t get a great picture of it but you can kind of see it on the left side of this picture. We did white on top and dark ash on the bottom. Did you know that Lowes will color match? I had previously gotten the white and the dark ash from Home Depot because I had a gift card, this time I had a gift card to Lowes, so I took in the colors and they were able to match them for the small fee of $0.95. Now the colors match what I did in the downstairs bathroom. win!
Second step was to put up the accent wall. I found this laminate at Lowes for 79 cents/sq ft. It ended up being the cheapest stuff there but I actually liked it the best. another win! I used liquid nails and brad nails (thanks Dad for letting me borrow the nail gun) to attach it to the wall.
(please note the speaker wires STILL hanging down, and a piece of the ceiling starting to peel..ugh)


Making progress on the accent wall. I’ve never put up laminate before so it was a bit of a learning curve but once I figured it out It was pretty smooth. I need to buy a jigsaw because cutting around those outlets was NOT pretty. However, all of the outlets you see in the picture on the left are hidden behind a sofa table so my learning curve will only be seen by me.

Many Youtube videos later I actually figured out how to cut an outlet (and I still don’t have a jigsaw).

Finished product (note no wires hanging down anywhere). We used Cablemate II to run the wires along the ceiling and along the back wall. I replaced the white outlet covers with matte black ones I found at Habitat for Humanity for 50 cents each (STEAL!).
There’s one more big part to this project and it’s a mural my sister is going to paint (on the wall behind where I’m standing to take this picture). I can’t wait!
I learned a lot through this project. Measure everything multiple times, working is more fun with a glass of wine, if it’s not right the first time do it again (you’ll be thankful later even if you’re pissed right now), Youtube is a wonderful resource but make sure to watch a few videos by different people to get all the tips.
"Everything you can imagine is real." -- Pablo Picasso